How to improve your underwater footage
Being a good underwater camera operator is a combination of many factors. Your physical ability to free dive or dive is paramount but also understanding the environment you are working in is vital. Both affect the footage you are hoping to capture. This article will endeavour to explain the key principles of filming underwater so that you can become a better underwater camera operator.
Underwater filming allows us to witness and catalogue incredible animals and environments that are like something from another world. But because this is such a different environment to film in, the underwater footage we often get, looks washed out and monochromatic. How do you avoid this?
That is what this blog post will endeavour to explain.
There are two ways to improve underwater footage.
1. In-camera
2. In Post
First we will look at improving in-camera. If anyone says they will “fix it in post”, remind them of a polished turd.
I will assume that if you are the camera operator acquiring the images, you are relatively experienced at diving, you have good bouyancy control etc. If you want to read further on the process to improving your diving and underwater filming, you can read this blog post here
The Golden Rule of underwater imaging
Unlike Fight Club, I am actually allowed to talk about it, which is handy.
The 1st Rule of Underwater Imaging is get close.
The 2nd Rule of Underwater Imaging is get closer…
The 3rd Rule is…yeah, you get the gist.
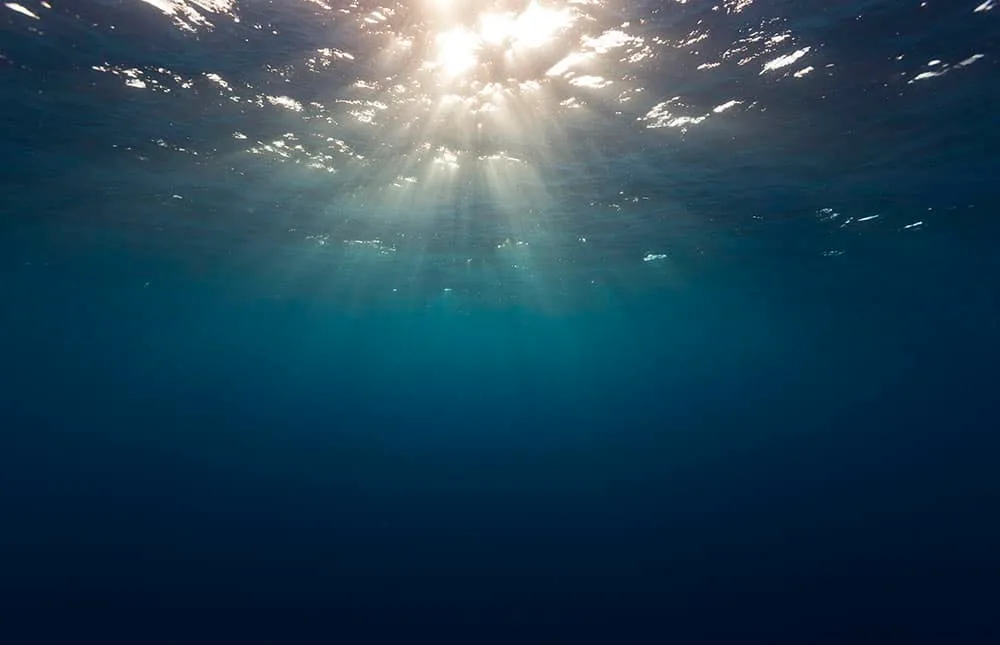
The reason this rule exists is because the less water that’s between you and your subject, the clearer and more colourful your image will be. Water, unless it’s extremely pure (which most natural environments won’t be) is full of dissolved and undissolved particles. The water becomes like a filter. On top of that, water is obviously much more dense than air, so it both absorbs and scatters light. Which isn’t very helpful.
As many of you divers may remember from your open water courses, water absorbs the red end of the spectrum first, then orange, yellow etc The deeper you go, the less red wavelengths exist. In fact after about 5-6m even in clear water, most of the red has gone. The more water that white light has to pass through, the more of the original spectrum the water absorbs until all that is left is blue and then of course eventually at great depths all the light is absorbed and it’s pitch black.

How to get closer?
We have established that getting better footage as an underwater camera operator relies upon moving closer to your subject. Therefore moving yourself closer to the subject is the first option in improving the underwater images you can get.
There are 4 main things we can do to help us achieve that:
- Be in control of yourself, move smoothly without rapid movements. Be able to position yourself where you want.
- Breathe smoothly. Large sudden exhalations release a load of bubbles and scare things away. Be calm, breathe slowly. Don’t chase.
- Consider training on and switching to a CCR system. The benefits of CCRs is that they don’t emit bubbles. Read more about how they benefit underwater camera operators here.
- Using a wide angle lens will help you get closer whilst also keeping the subject in frame. Focal lengths in the 8-10mm range are quite common for underwater filming setups.
Ways to improve how your camera shoots underwater
Very few cameras have the chromatic dynamic range to compensate for all the colour that’s lost underwater. They’re just not designed for it, as they were meant for topside filming.
All’s not lost though, there’s still a number of things we can do to ensure that the camera “sees” the best colours available.
- Using a red filter: This is a huge benefit to the camera. Having a red filter either external to the housing on the front element, or on the camera lens itself, will greatly improve footage because it helps to replace the reds that are lost. It also acts as a kind of ND filter cutting down the harsh glare that you can experience underwater too. It’s a great fix for any underwater camera system and should be the first thing you do.
- Manual White Balance: The ability for the user to adjust the colour temperature and tint of the footage being captured by the camera. By telling the camera to adjust to a new baseline white reference, the camera compensates for the parts of the spectrum it’s missing. If you manually white balance at depth then return to the surface without readjusting, the footage you now shoot will be red, because the camera has replaced it and boosted those missing wavelengths. Using a white card or the sun or sand, or even just the reef are ways to white balance the camera. Some experimenting might be needed to find the best method for your setup.
- Combining the two works even better. Using a filter and then manually white balancing the camera when you change depth is the best all round solution. Remember the amount of red and orange wavelengths will vary as you change depth and even with changes in ambient light and proximity to other reflecting objects (such as a sandy bottom) So if you can adjust the white balance before every shot the better your footage will look.
- Shooting in LOG or Raw codecs: If you are planning on colour correcting your footage in post then the next step is to shoot in 10 bit LOG profiles or higher. The higher the bit depth (10-16) the better. Regular C-LOG for Canon, S-LOG for Sony etc is 10 bit and will look very muted and dull straight from camera before it’s graded. But it will have the information there and colour grading software will bring it out. If you’re not into colour grading then just stick to regular colour profiles straight out of the camera, but you are kind of limiting how far you can tweak the footage.
- Shooting high bit depth and Raw: This is the realm of the professional who is going to colour correct and grade the Raw 16 bit footage in post.

Using Lights
Taking lights with you help to illuminate about 1-2m in front of you. They are useful when you are close to the subject and in that range can really make the colours pop. If the subject is beyond 2m away they don’t really have much of an effect. The only thing that changes is animals tend to be scared away by the light and you can get more backscatter when the lights illuminate particles in the water. When you use lights it’s important to adjust the white balance of the camera to the lights to gain the best representation of the colours at depth once illuminated. Some pros add blue filters to the lights to compliment the wavelengths filtered out by the red filter on the lens. Again, experiment with your set up to find the best combination.
Colour correcting underwater footage with software
To colour correct footage you will need editing software. There are many different brands and versions available nowadays. Final Cut Pro, Adobe Premiere Pro, Davinci Resolve to name just 3.
Some you pay for, others are free. In 23 years of colour grading underwater footage, I’ve used a fair few of them and have settled on using Davinci Resolve Studio.
I chose this for a variety of reasons. Firstly there is a free version that is extremely capable on which you can practice and teach yourself. I found it had the best interface and gave the best results for the Canon Raw footage I was grading. Other people prefer other brands and I will leave that up to you to decide as that’s a whole topic unto itself. The fundamentals of colour grading are universal though. You are attempting to change the look of the footage through manipulating it with software.
Generally underwater footage lacks the redder end of the spectrum, contrast and saturation.
Within any colour correcting software, you will find various sliders for a multitude of variables.
I’m not going to go into all the twiddly bits of every single program, nor am I going to give a full on tutorial on how the inner workings of Davinci Resolve, mainly because I don’t know them. So instead, I’ll just show you an example of what I do and the result. This is in Part 2
Dive Safe.